Showing posts with label whole milk. Show all posts

Tuesday, November 18, 2014

Pão de Queijo (Brazillian Cheese Bread)

My friend Gal is from Brazil and she has made Brazilian Cheese Bread many times.  I have wanted to attempt to make the rolls, and I finally did.  The local asian market I go to had the tapioca flour needed to make these the traditional way.  I found the real Brazilian cheese at a Brazilian market that Gal recommended.  The typical recipe is yummy, but my husband and I agreed they were bland, so I added more cheese.  


These are delicious warm served with the Feijoada (Black Bean Stew).  My husband
 will tell you they are great in soup.


Ingredients:

1 cup Whole Milk
1/2 cup Vegetable Oil
1 teaspoon Sea Salt
2 cups (10 ounces) Tapioca Flour or Cassava Flour
2 Eggs
2 cups Minas Cheese (Parmesan cheese can also be used)


Preheat oven to 450 Fairenheit.

Heat milk, oil, and salt in medium sauce pan over medium heat just until bubbles
come to surface. Stir occasionally.

Remove from heat and add all flour and mix until no more flour is dry.

A wooden spoon is easier to use to stir mixture.

Either continue stirring with spoon or transfer to a mixing bowl with attached paddle.
Mix until the dough has cooled enough to touch.

Whisk eggs and pour half mixture into dough and mix until combined and add
remaining beaten eggs.


Remove paddle and use whisk.  Set the mixer on medium and beat the mixture until
smooth and elastic.

Add all the cheese and whisk until combined.


Prepare two sheet pans lined with parchment paper.  
Portion dough with small ice cream scoop, or tablespoon and roll into balls.

Place sheet pans with puffs in the oven.  Immediately reduce oven temperature to 350 Fahrenheit.
Bake for 25-30 minutes, until they have puffed and are dry on the outside and just begin to color.


Enjoy!

Pão de Queijo (Brazillian Cheese Bread)
Printable Recipe Found Here

Ingredients:

1 cup Whole Milk
1/2 cup Vegetable Oil
1 teaspoon Sea Salt
2 cups (10 ounces) Tapioca Flour or Cassava Flour
2 Eggs
2 cups Minas Cheese (Parmesan cheese can also be used)

Process:

Preheat oven to 450 Fairenheit.

Heat milk, oil, and salt in medium sauce pan over medium heat just until bubbles come to surface. Stir occasionally.

Remove from heat and add all flour and mix with a wooden spoon until no more flour is dry.

Either continue stirring with spoon or transfer to a mixing bowl with attached paddle.
Mix until the dough has cooled enough to touch.

Whisk eggs and pour half mixture into dough and mix until combined and add remaining beaten eggs.
Remove paddle and use whisk.  Set the mixer on medium and beat the mixture until smooth and elastic.
Add all the cheese and whisk until combined.

Prepare two sheet pans lined with parchment paper.  
Portion dough with small ice cream scoop, or tablespoon and roll into balls.

Place sheet pans with puffs in the oven.  Immediately reduce oven temperature to 350 Fah renheit.
Bake for 25-30 minutes, until they have puffed and are dry on the outside and just begin to color.

Enjoy!


Monday, September 15, 2014

Neufchatel Cheese

A few years ago my sister Jenifer was manning a booth at the LA County Fair.  She was introducing people to Neufchatel Cheese.  She told me, and all of our family, about this yummy cheese with less fat than cream cheese.  Neufchatel Cheese originally comes from the the French region of Normandy and is molded in the shape of a heart and allowed to cure.   I will be showing you how to make the American version.   Farmers cheese is another term for the cheese.  This cheese takes time, and some special ingredients that you may not have on hand.   Why make your own?  Well if you look on the package of a block of Neufchatel from the grocery store, they have a host of ingredients that help to create the firm texture of cheese that can be achieved by time instead of chemical means.  Truthfully, I love finding ways to make homemade versions of food my family enjoys eating.  The homemade versions always taste so much better.  This spreadable cheese is destined to be spread on homemade New York style bagels, so be ready for the bagel recipe soon.

My husband said this spreadable cheese was like a cross between cream cheese and
whipped cream and the taste was just like the store bought version.

Ingredients:

1/2 gallon Whole Milk
1/4 teaspoon Liquid Vegetable Rennet (can be found on Amazon here)
2 Ounces Mesophilic Starter Culture (can be found on Amazon here)
1 teaspoon Sea Salt


Pour all the ingredients together in a container with a lid.  I used a 1/2 gallon mason jar
for my mixture.  Mix and cover with lid.  Leave on counter for  24 hours.  

 Gently pour curds and whey into a fine cheesecloth lined colander over a large bowl.
Allow to drain for 1/2 hour.

Tie corners of cheesecloth around a wooden spoon resting on the lip of the bowl.  Place bowl
and cheese bundle in refrigerator.  I suspended my wooden spoon throughout the refrigerator
shelf so it had more room between the bowl and bundle.  This bundle will release a lot of whey.  Allow to sit in refrigerator for 10-15 hours.  I did it over night and into the early afternoon.

 What a beautiful gift, all unwrapped and ready to spread, not just yet though.

 Place cheese in a bowl, sprinkle salt on top and gently stir with a wooden spoon.

Scoop cheese into an air tight container, and store in refrigerator for up to a week.

Enjoy!

Neufchatel Cheese
Printable Recipe found Here

Ingredients:

1/2 gallon Whole Milk
1/4 teaspoon Liquid Vegetable Rennet (can be found on Amazon here)
2 Ounces Mesophilic Starter Culture (can be found on Amazon here)
1 teaspoon Sea Salt

Process:

Pour all the ingredients together in a container with a lid.  I used a 1/2 gallon mason jar for my mixture.  Mix and cover with lid.  Leave on counter for  24 hours.  
Gently pour curds and whey into a fine cheesecloth lined colander over a large bowl.  Allow to drain for 1/2 hour.
Tie corners of cheesecloth around a wooden spoon resting on the lip of the bowl.  Place bowl and cheese bundle in refrigerator.  I suspended my wooden spoon throughout the refrigerator shelf so it had more room between the bowl and bundle.  This bundle will release a lot of whey.  Allow to sit in refrigerator for 10-15 hours. 
Place cheese in a bowl, sprinkle salt on top and gently stir with a wooden spoon.
Scoop cheese into an air tight container, and store in refrigerator for up to a week.

Enjoy!

Tuesday, January 7, 2014

Vanilla Bean Gelato

Our family Christmas gift last year, that is so weird to say since it was just a couple weeks ago, was an ice cream maker.  It was the same one I believe my sister in law Rachelle uses and makes the best ice cream according to my husband.  Yesterday I started the process to make vanilla bean gelato.   That is correct.   To make this gelato you will need to start it the day before.  I should probably explain what gelato is.   It isn't ice cream first of all.  Why don't I list what gelato is: it is made with whole milk and cream and has less fat because of this.   Ice cream has more cream.  It has egg yolks, and closely resembles a frozen custard in this way.   It is processed in an ice cream maker for a shorter period and is 30-40% air versus ice cream's 80-90%.   It has a matte finish (it isn't shiny like ice cream), and finally it is an Italian desert and tastes so much better than ice cream. Are you interested in vanilla bean gelato? 

 Look at that beautiful homemade gelato. Mangia mangia gelato.

Ingredients for this recipe are: 2 1/2 cups whole milk, 1 1/2 cups heavy cream, 3/4 cup white sugar, 
1 vanilla bean split, 5 egg yolks, and...
3 ounces of olive oil, the secret Italian ingredient.

 Slit vanilla bean, scrape beans and add all the ingredients in your blender except olive oil and 
blend for six minutes, then drizzle in olive oil through the lid.  If you happen to be blending this 
in your Vita-Mix (I know some of you do) then you blend for 2 more minutes on high and 
you will have reached the right temperature.


 For the rest of us, pour the ingredients into a stock pot and put on stove with the burner set to
medium.  Attach candy thermometer and heat ingredients to between 185-195 Fahrenheit.  If
you do have a Vita-mix I envy you and would gladly come to your home and make this in your
blender for you.  As soon as your mixture reaches temperature remove from the stove.

 Pour into a lidded container and refrigerate overnight.


 Pour refrigerated gelato base into ice cream maker and use ice cream maker as directed
by the manufacturer.   Process for 20 minutes or so.

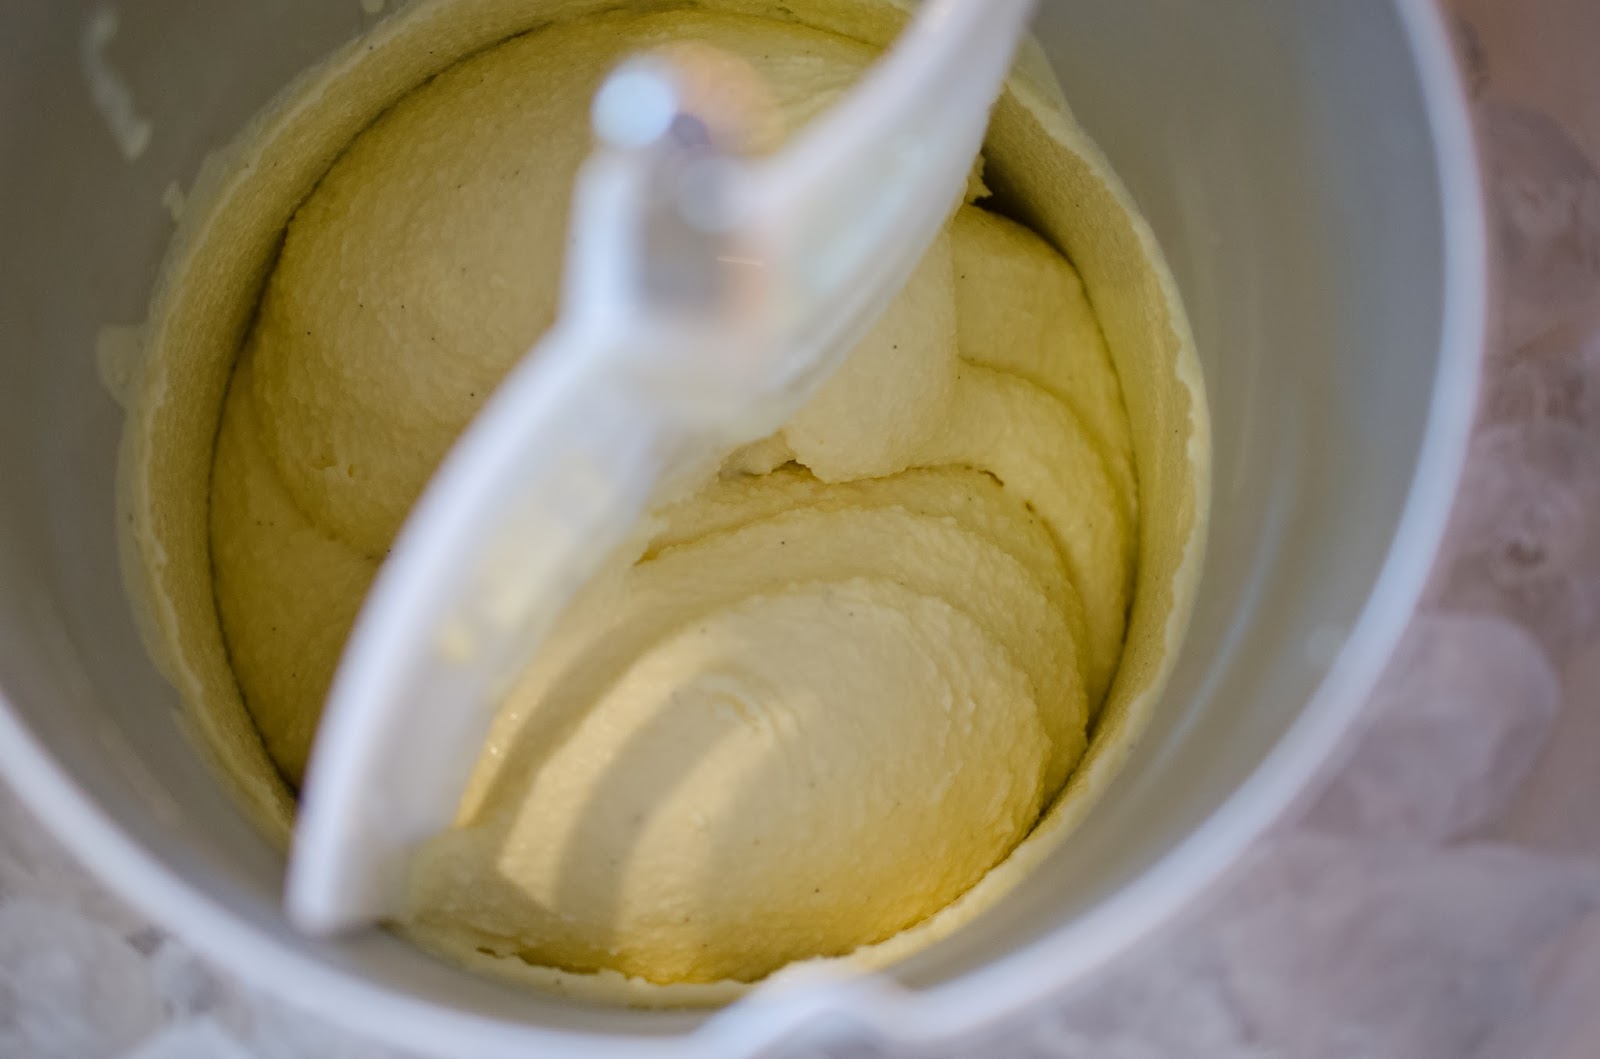
 I processed mine, and as you can see it looks so pretty.  It was soft serve straight out of my
machine, so I also froze it for two more hours.

Again I say mangia mangia gelato, who's with me?

Enjoy!